How to Upload contact
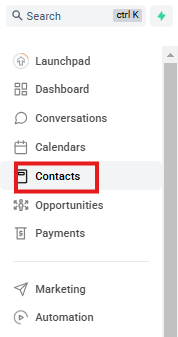
To begin, navigate to the Contacts section from the right-hand menu. If you already have contacts, they will be displayed here.
Step 2: Adding a New Contact
If you want to add a single contact, click on the + (Add Contact) button. A form will appear where you can enter the contact details. Fill in the necessary fields and save.

Step 3: Importing Bulk Contacts
For bulk contact imports, click on the Import icon at the top of the Contacts page.
Important: Before importing, ensure your contact list is cleaned and saved in CSV format.

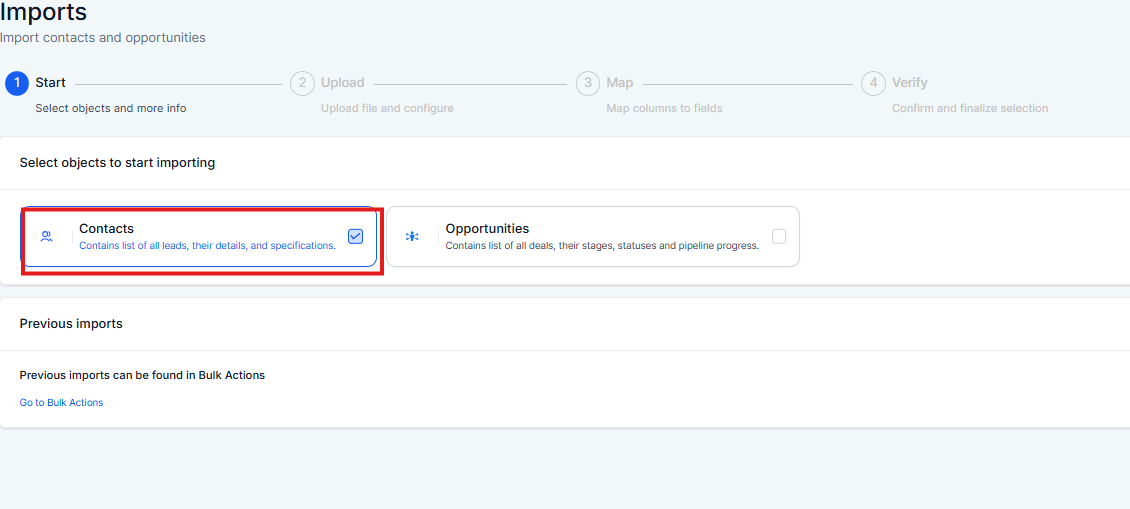
Select Contact
Step 4: Uploading Your Contact File
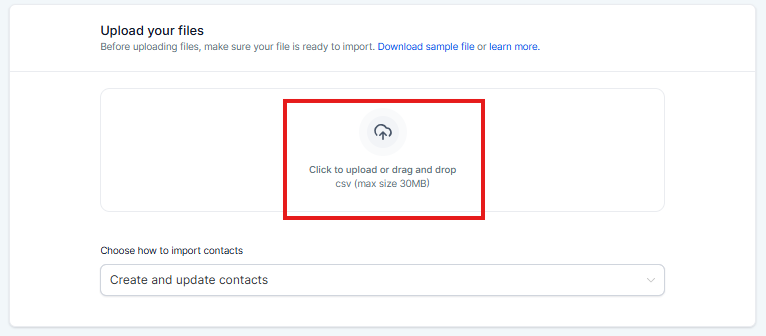
Now, select your contact file and click Next. Then, click the Upload icon to choose your CSV file from your computer.

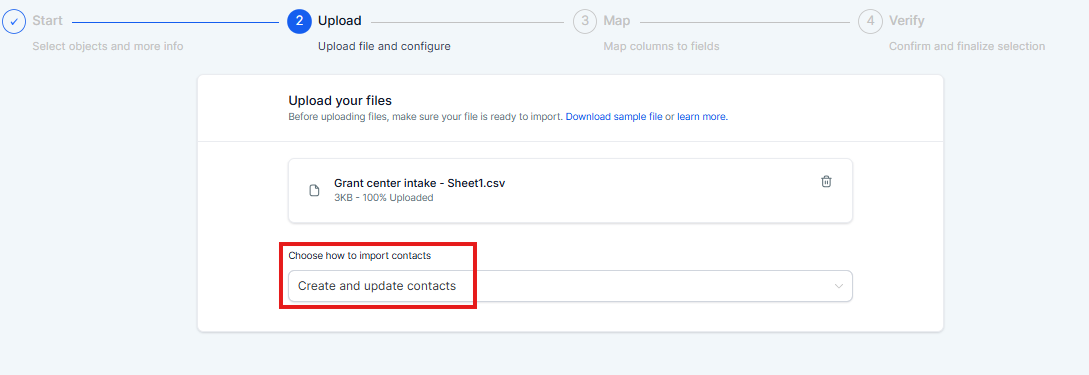
Step 5: Choosing an Import Option
Create new contacts – for adding fresh contacts.
Create and update contacts – for adding new contacts and updating existing ones.
Update existing contacts only – for making changes to current contacts.
Once selected, click Next to proceed.
Step 6: Mapping Contact Fields
Now, map your CSV columns to the correct fields. The system will attempt to do this automatically, but you can manually adjust if needed.
For example, ensure First Name is mapped to First Name, and Country is mapped to Country.
If you don’t want to import certain columns, check the box that says 'Don’t import data in unmapped columns.

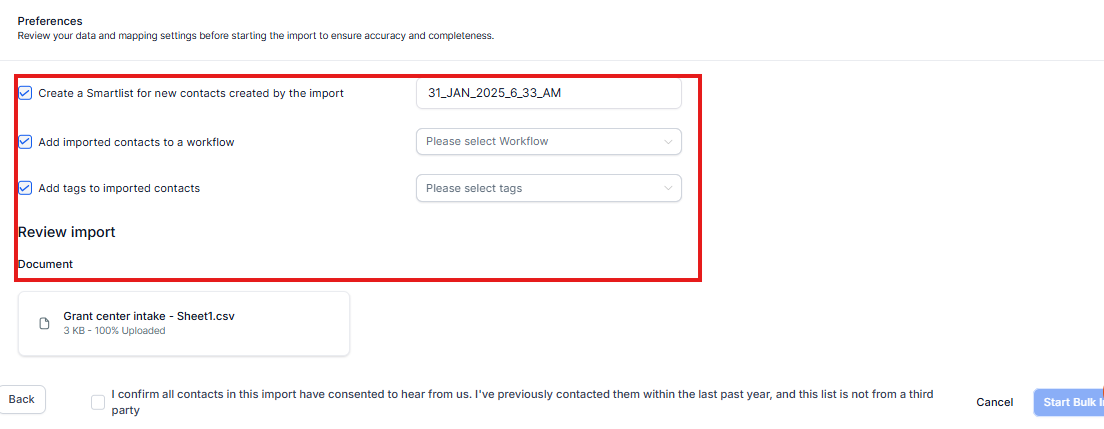
Step 7: Selecting Additional Import Preferences
Before finalizing, you can customize your import with these additional options:
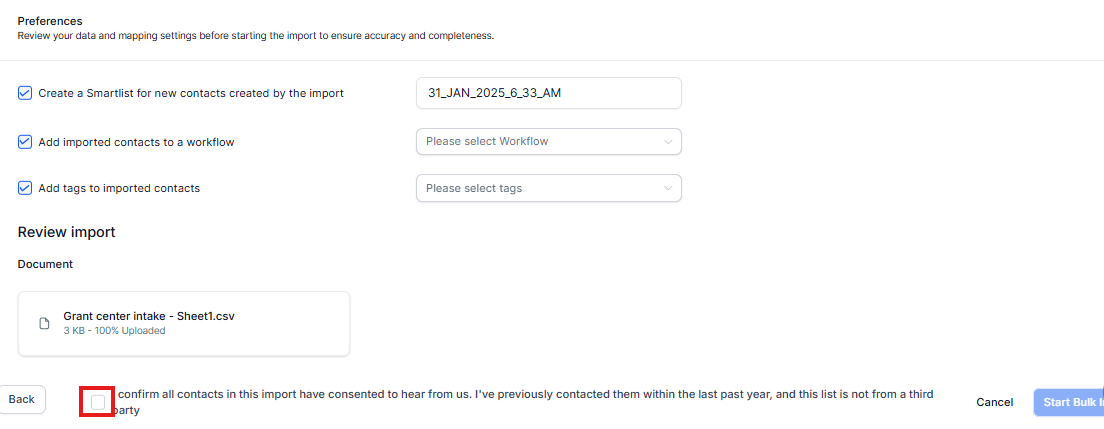
Create a Smart List for newly imported contacts.
Add imported contacts to a workflow.
Tag imported contacts for easy identification.
Step 8: Completing the Import
"Finally, review the Import Privacy Policy, then click Start Bulk Import to complete the process.
Your contacts are now successfully imported!
